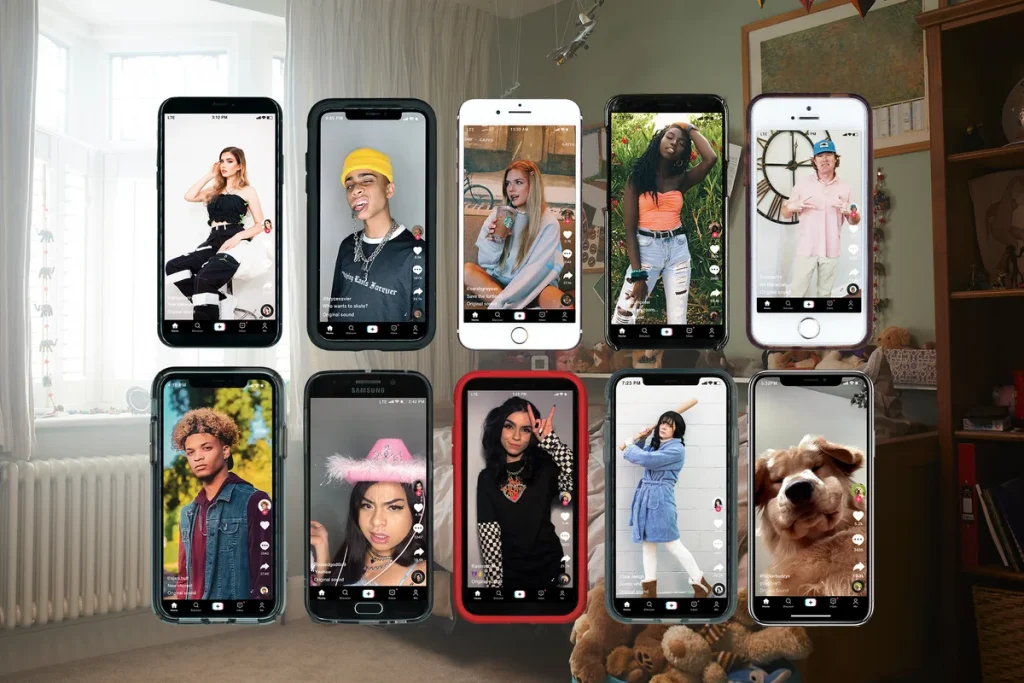
Sometimes, TikTok transitions can look like pure magic, especially when it comes to tech-savvy teens taking the time and effort to learn cool social media tricks, which let’s be fair adults don’t as often do to make their videos stand out. For instance, when a video starts with someone in their bedhead and natural complexion, changes instantly into a fabulously made-up face with a flawless blow-dry. Or, when a TikTok creator changes their whole outfit with a little jump and the snap of their fingers.
From the outside, these TikTokers look like master cinematographers who have years of film-editing experience. However, once you get to know how the app works, you can see that these transitions are not that hard to achieve, even for someone who’s just starting out.
How do transitions on TikTok work?
Before we jump into the practical explanation, it’s important to clarify what transitions are, and how you can use them to level up your videos.
The main purpose of transitions is to seamlessly connect two different videos into one creation. This means that you don’t have to film everything in one go. Instead, you can record and pause multiple times, and the video will still look professional.
There are two ways to achieve that. The easiest one is with the app’s built-in transitions. Those are available after you record your video, press V, and move on to the editing screen. There, they appear under Effects.
However, in this guide, we will focus on the DIY way to create transitions, which is what most creators use. Often, they look much smoother and cooler, which can help you get on the TikTok For You Page. If you’re a complete novice, you want to read the tips for beginners on how to use TikTok first.

The Basics of DIY transitions in TikTok
There is one hard and fast rule to remember when you attempt to make these transitions: the end of one video and the beginning of the next has to look exactly the same. What does that mean exactly?
It means that everything that is not a part of the transition has to remain in the exact same spot. Don’t move any objects in the background, keep the same lighting, and also keep yourself in the same position. This will create the smoothest transformations.
To do that, you may want to mark where you stand and use a tripod so the angle doesn’t change if it’s a wide shot. It’s also best to use the timer setting, so you don’t have to press record and stop, so you can focus solely on what you’re doing.
After you finish recording the different sections, you will go into editing and adjust the two clips to ensure they look like a natural continuance of one another.
Finger Snap Transition
We’ve already mentioned this one at the beginning, as it’s quite common. It’s also fairly simple to achieve:
- Place the phone on a steady surface so you can ensure the frame stays the same.
- Tap the Timer on the right side of the screen and choose how long you want the clip to be. It’s best to have it at least four seconds, as you can edit it down later.
- In the clip, wait about a second, then snap your fingers.
- Now change your outfit, makeup, or anything else for the reveal.
- Tap the Timer again and set it for four more seconds (for a total of eight).
- Snap your fingers as before.
- Press V to go to editing.
- Tap Adjust Clips on the right-hand side.
- Tap each clip to cut it down to the snap. Make sure you include the actual sound of a snap for the full effect.
- Tap Save and voila, you’ve made your first transition.
You can use this method to do a hand swipe as well. Instead of snapping, simply run your hand from right to left of the frame, and cut both videos when your hand reaches the center of your face.
HeadButt Transition
This one is slightly more complicated, as you need to hold on to the camera. It will seem like you’re bumping into the camera prompting a new look. No need for a timer for this one.
- Press record and film a few seconds of yourself.
- Lower your head and raise your phone at the same time. Make sure the last frame is the top of your head and nothing else.
- Stop the recording and change your outfit.
- Now, press record and start with the top of your head, and pull your arm down, while you pull your face up to reveal the new look.
- Press V and move on to the edit page.
- Make sure that the first and last frames are off the top of your head.
This method can also be used in several ways, like by flipping your hair into the camera or smacking the lens with your palm. As long as the camera is fully covered in between the takes, you’re good to go.
Perspective Transition
This one will make it appear like your video is shot from multiple cameras.
- Hold the camera in front of you and film. Then move your arm to the side while you still look to the front.
- Turn to the camera for a second and turn away.
- Change what you want for the transition, and record again from the front, with your head to the side, like you’re talking to the side camera. Then turn back to face the front.
- When you edit the two clips, make sure that it looks like one smooth head turn. To best do that, choose blurry frames as the beginning and end, so they blend better together.
With this method, you can film from above, below, or even spin your camera around to create the illusion of multiple cameras. It works best if you have a PopSocket or something similar to keep the phone in place.
This was only the beginning…
We hope that these three transitions will not only become a staple in your videos but will also make you want to dive deeper and simplify the complexity of using teen-dominated platforms. With a bit of practice, you can create your ultimate TikTok masterpiece.
There’s a variety of tutorials on TikTok when you search under #transitions. Creators share their tips, tricks, and the accessories they use, so you can learn from them and try new and inventive transitions.
Stay tuned to all the latest news by subscribing to ITP Live’s newsletter below or activating push notifications.


